One screen per spot color
Traditional spot-color printing normally uses a separate prepared mesh screen for every ink color in the artwork.
OUR CRAFT · MADE IN OUR SHOP
From the first artwork check to the final inspection, every decorated garment moves through a careful production process. These line-art scenes are recreated from our actual screen-printing and embroidery floors.
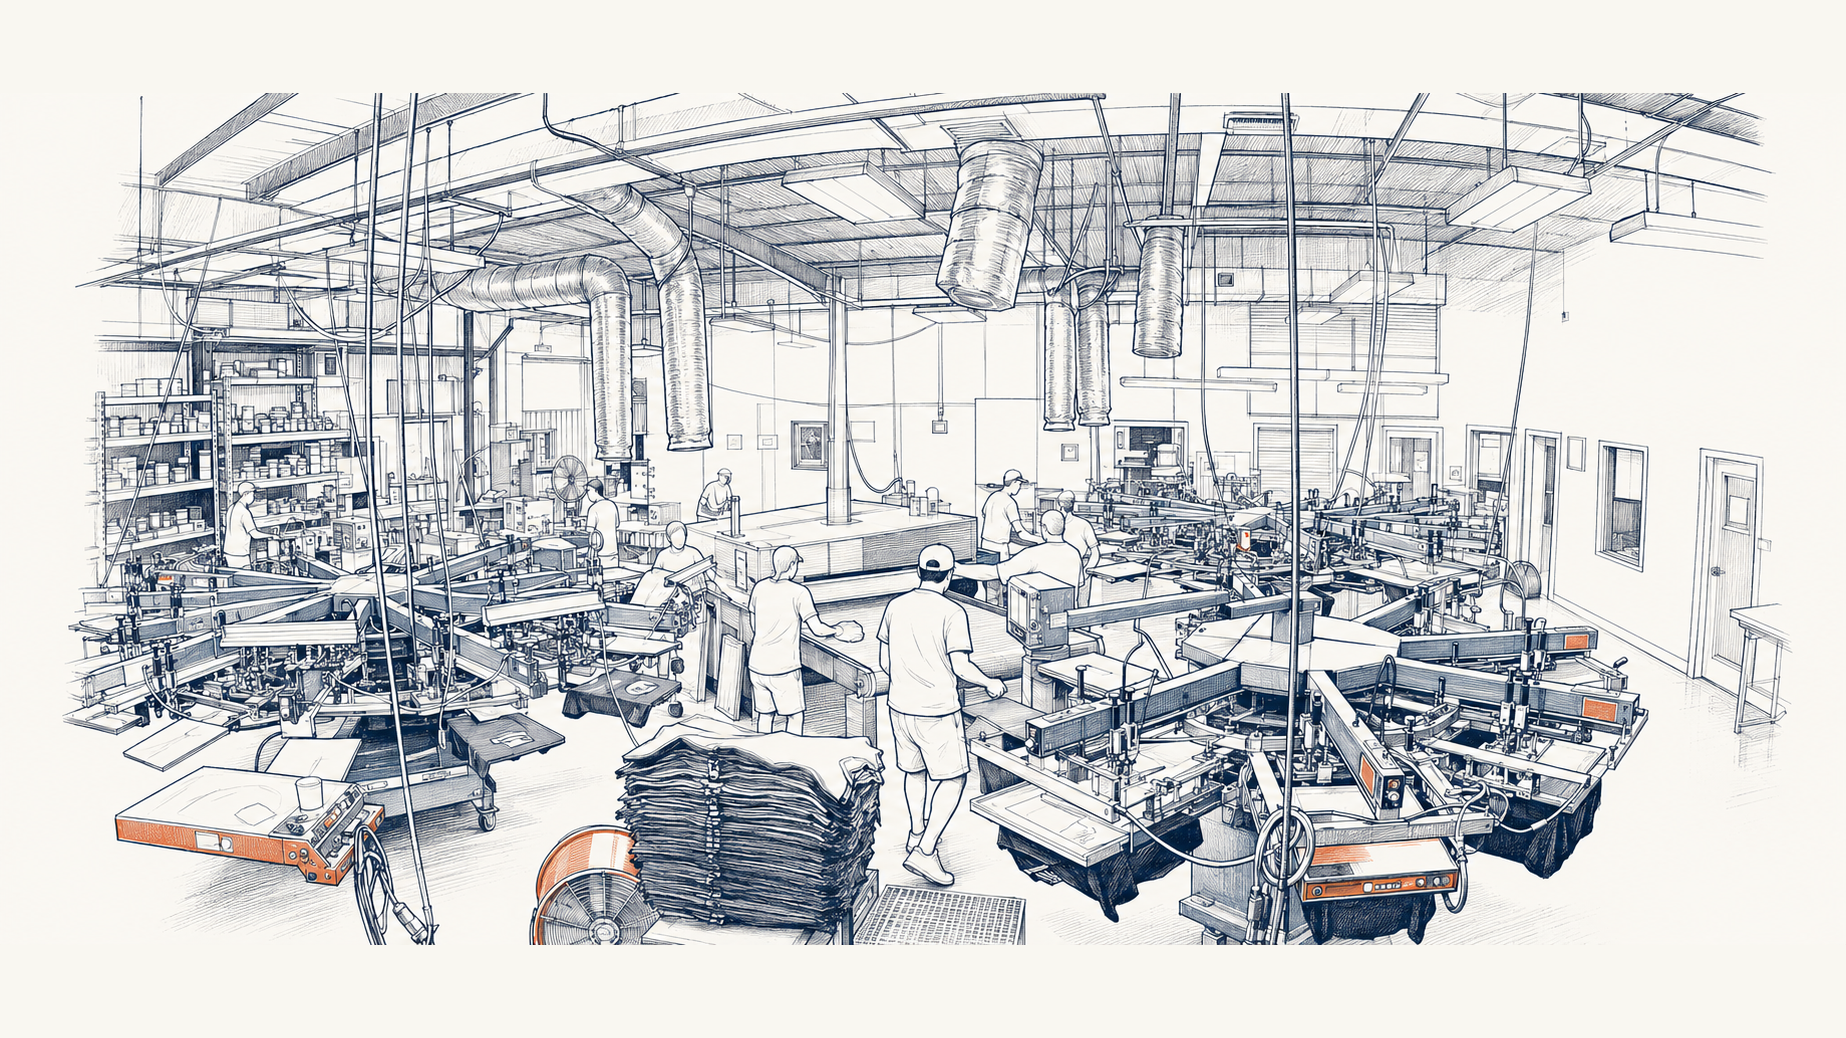
INSIDE OUR PRODUCTION FLOOR
Screen printing lays down ink through prepared mesh screens. Embroidery builds a design with thread and carefully programmed stitches. The best method depends on your artwork, garment, quantity, placement and the look you want to achieve.
INK · MESH · HEAT
Screen printing is ideal for bold, repeatable graphics and larger apparel runs. A separate screen controls each ink color, while careful registration keeps every part of the design aligned.
Traditional spot-color printing normally uses a separate prepared mesh screen for every ink color in the artwork.
Every screen is adjusted to the same reference points so separate colors combine into one clean finished image.
A flash unit may briefly gel an ink layer before another color is printed, helping details remain clean during production.
The conveyor dryer brings the ink to its required cure so the decoration can withstand normal wearing and washing.
We check the design, garment, placement, print size and colors so the finished decoration fits the product correctly.
The artwork is prepared into individual print colors. In traditional screen printing, each ink color uses its own screen.
Mesh screens are coated, exposed with the artwork and washed out, leaving open areas where ink will pass through.
Screens are installed and carefully registered so every color lands in the right position on the garment.
Ink is pressed through the open mesh onto each garment. Multi-color designs are built one aligned color at a time.
The printed garment travels through a conveyor dryer. Controlled heat cures the ink so it is ready for normal wear and washing.
We inspect print position, color, coverage and cure before the order is counted, folded and prepared for delivery.
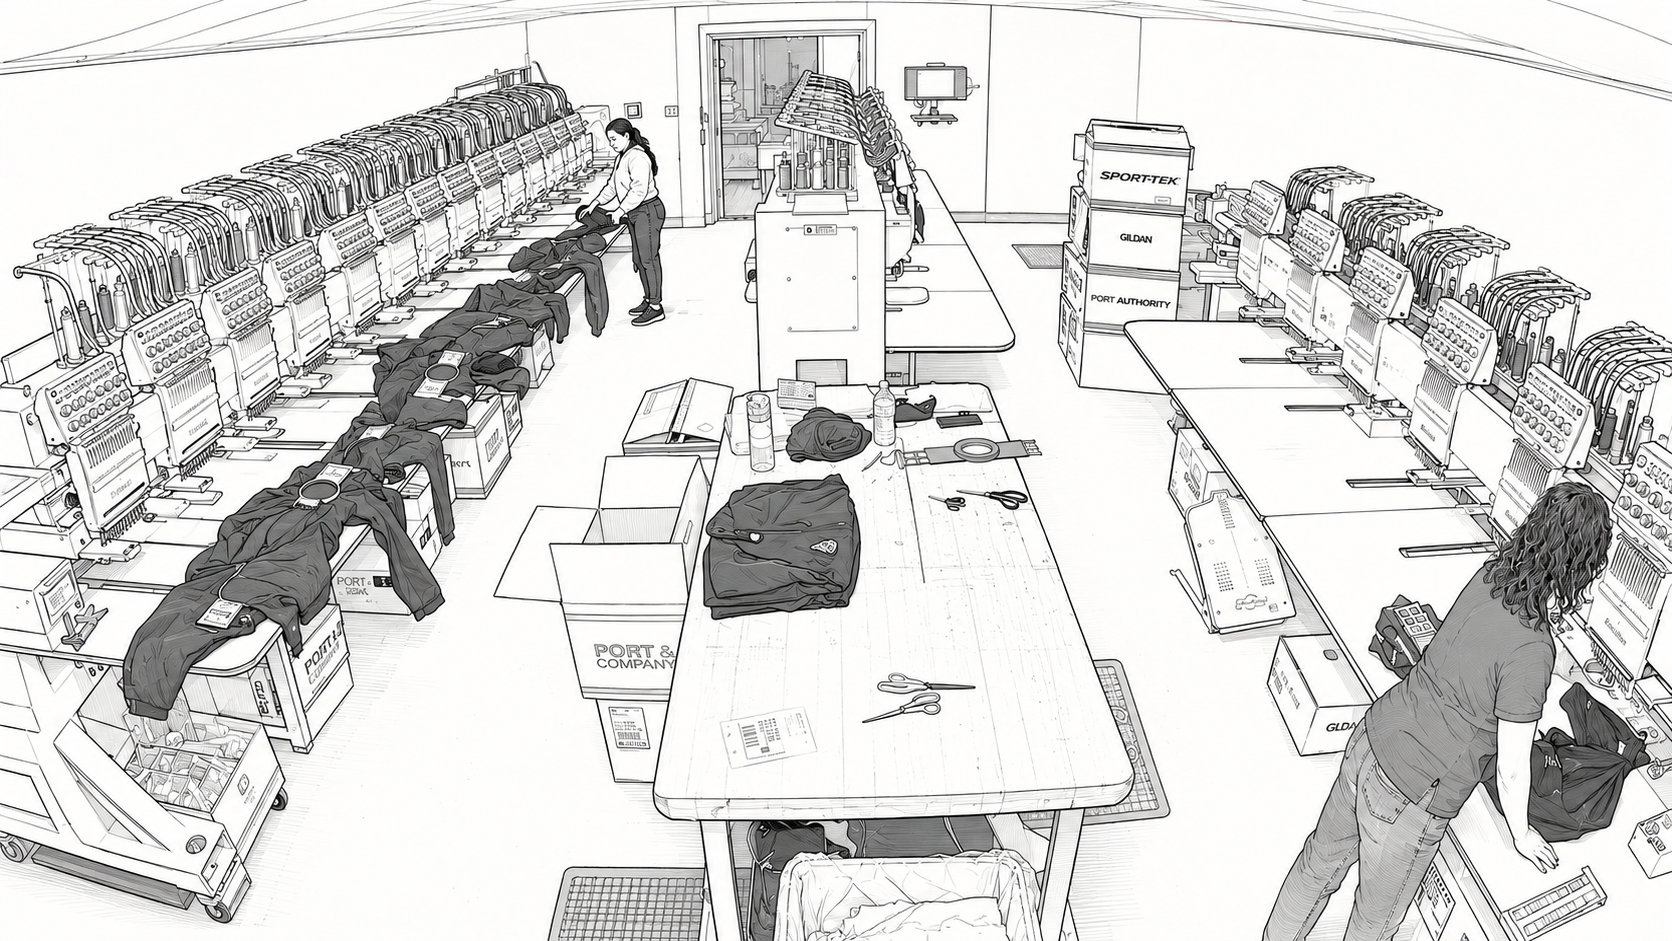
THREAD · STITCH · TEXTURE
Embroidery gives logos a dimensional, professional finish on polos, caps, jackets, bags and many other products. The craft begins before the needle moves—with thoughtful digitizing and stabilization.
The stitch file controls stitch type, direction, density, sequence, trims and thread-color changes—it is not a simple image conversion.
Backing helps prevent shifting and puckering; the correct type depends on the garment, fabric and design.
Even tension and accurate hoop position keep the garment steady and place the design in the intended location.
A multi-head machine can stitch the same programmed design on several garments at once while maintaining the same sequence.
Artwork is translated into a stitch file that tells the machine the stitch type, direction, density, sequence and thread changes.
Thread, needles and stabilizer are selected for the garment. A cap, polo and jacket each need a different setup.
The garment and stabilizer are secured with even tension so the fabric remains steady while the design is stitched.
The design is positioned, thread colors are loaded and the machine is checked before the production run begins.
Multiple embroidery heads can sew the same design at once, building dimension with thousands of precisely placed stitches.
Excess backing and thread are trimmed, then each piece is checked for clean stitching, placement and overall appearance.
CHOOSING THE RIGHT METHOD
Both are durable, professional decoration methods—but they create different results.
WHAT QUALITY LOOKS LIKE
Decoration is positioned for the garment, size range and intended location.
Registration, ink coverage, thread tension and stitch quality are monitored throughout the run.
Pieces are checked before they are counted, organized and prepared for delivery.
GOOD TO KNOW
Often yes, but it must be prepared differently. Screen printing needs color-separated print files; embroidery needs a digitized stitch plan.
Fabric weight, stretch, texture, seams and construction all affect the best decoration method, stabilizer, ink and placement.
No. Thread reflects light and creates dimension, while ink creates flatter areas of color. We prepare the artwork for the strengths of the selected method.
Start with the product, artwork and intended use. Our team can recommend the method that best supports the design and garment.
READY TO MAKE SOMETHING?
Choose your merchandise, bring your artwork, or start creating a new design.